 Hand-built ceramics
Enrol now
Hand-built ceramics
Enrol now
The foundation course
Everything you need to work with clay with confidence — from your very first lump to a finished, food-safe piece you're proud of. The place to start if you're new, and the ground every master-class is built on.
€199
One-time payment · one year of access.
Why start here
Most people who give up on clay never learned the basics in order.
The Method is the course I wish I'd had — the fundamentals that decide whether a piece survives or cracks, taught step by step, without the guesswork. Do it once and you'll never be lost in front of a lump of clay again.
Clay is more than a material — it's a way to slow down and create with your own hands.
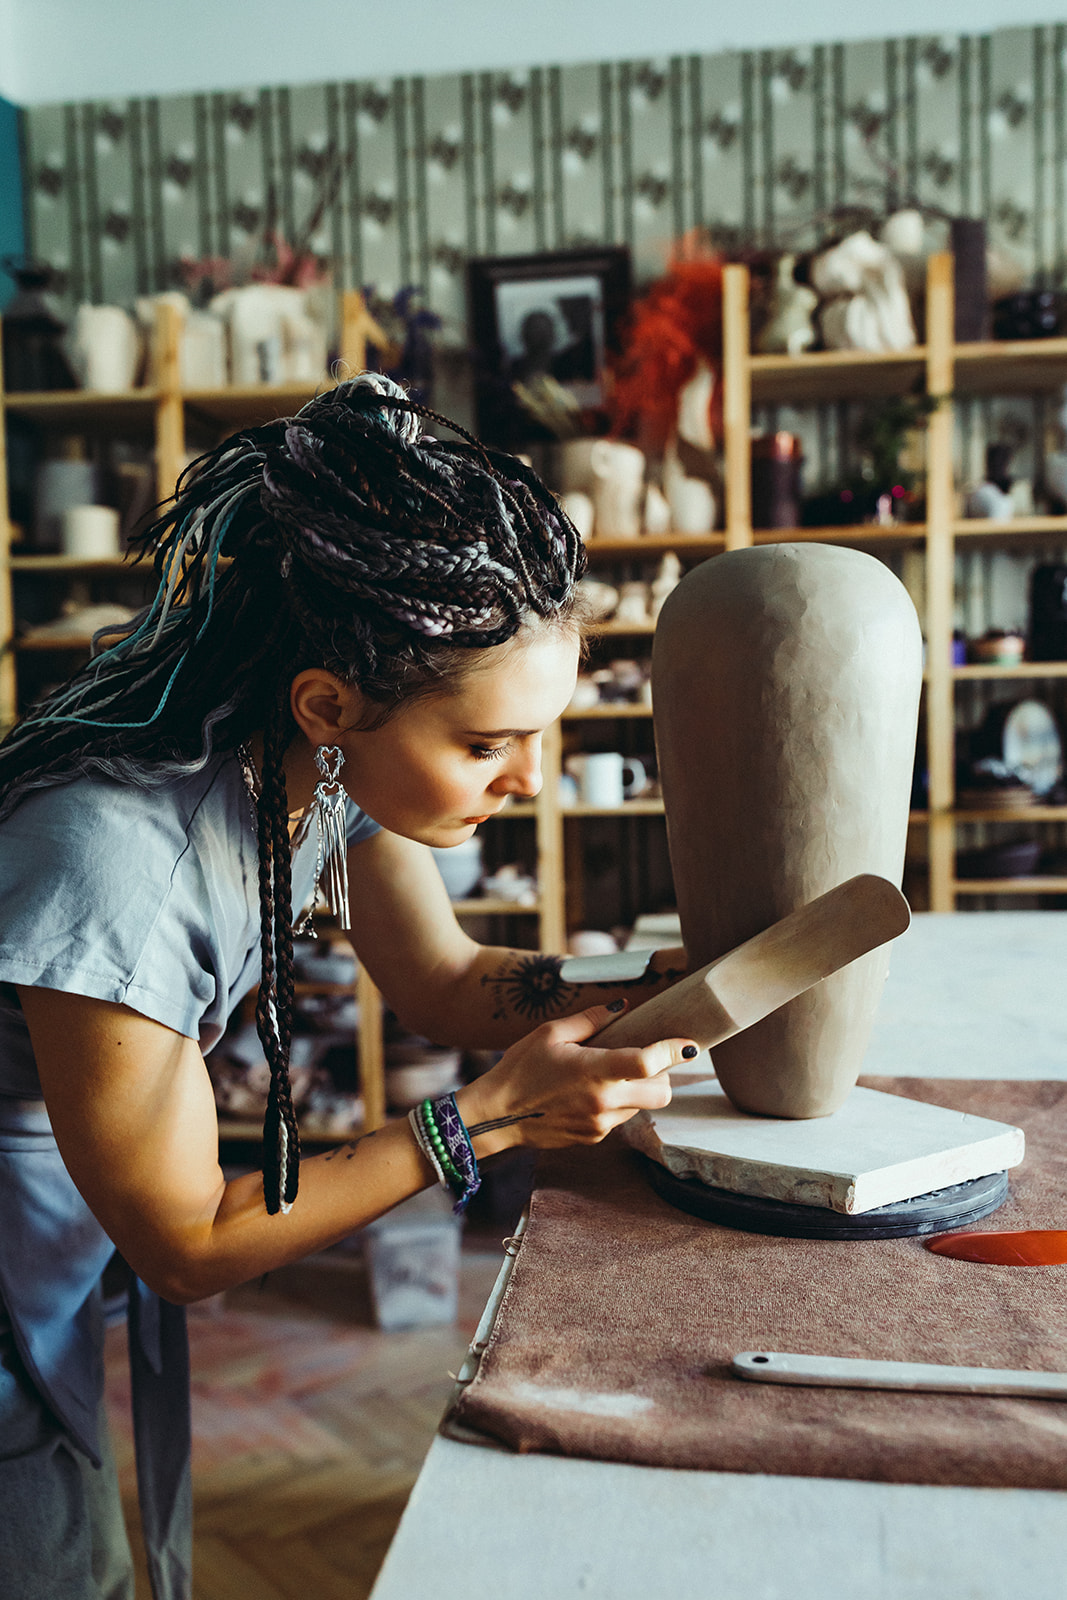
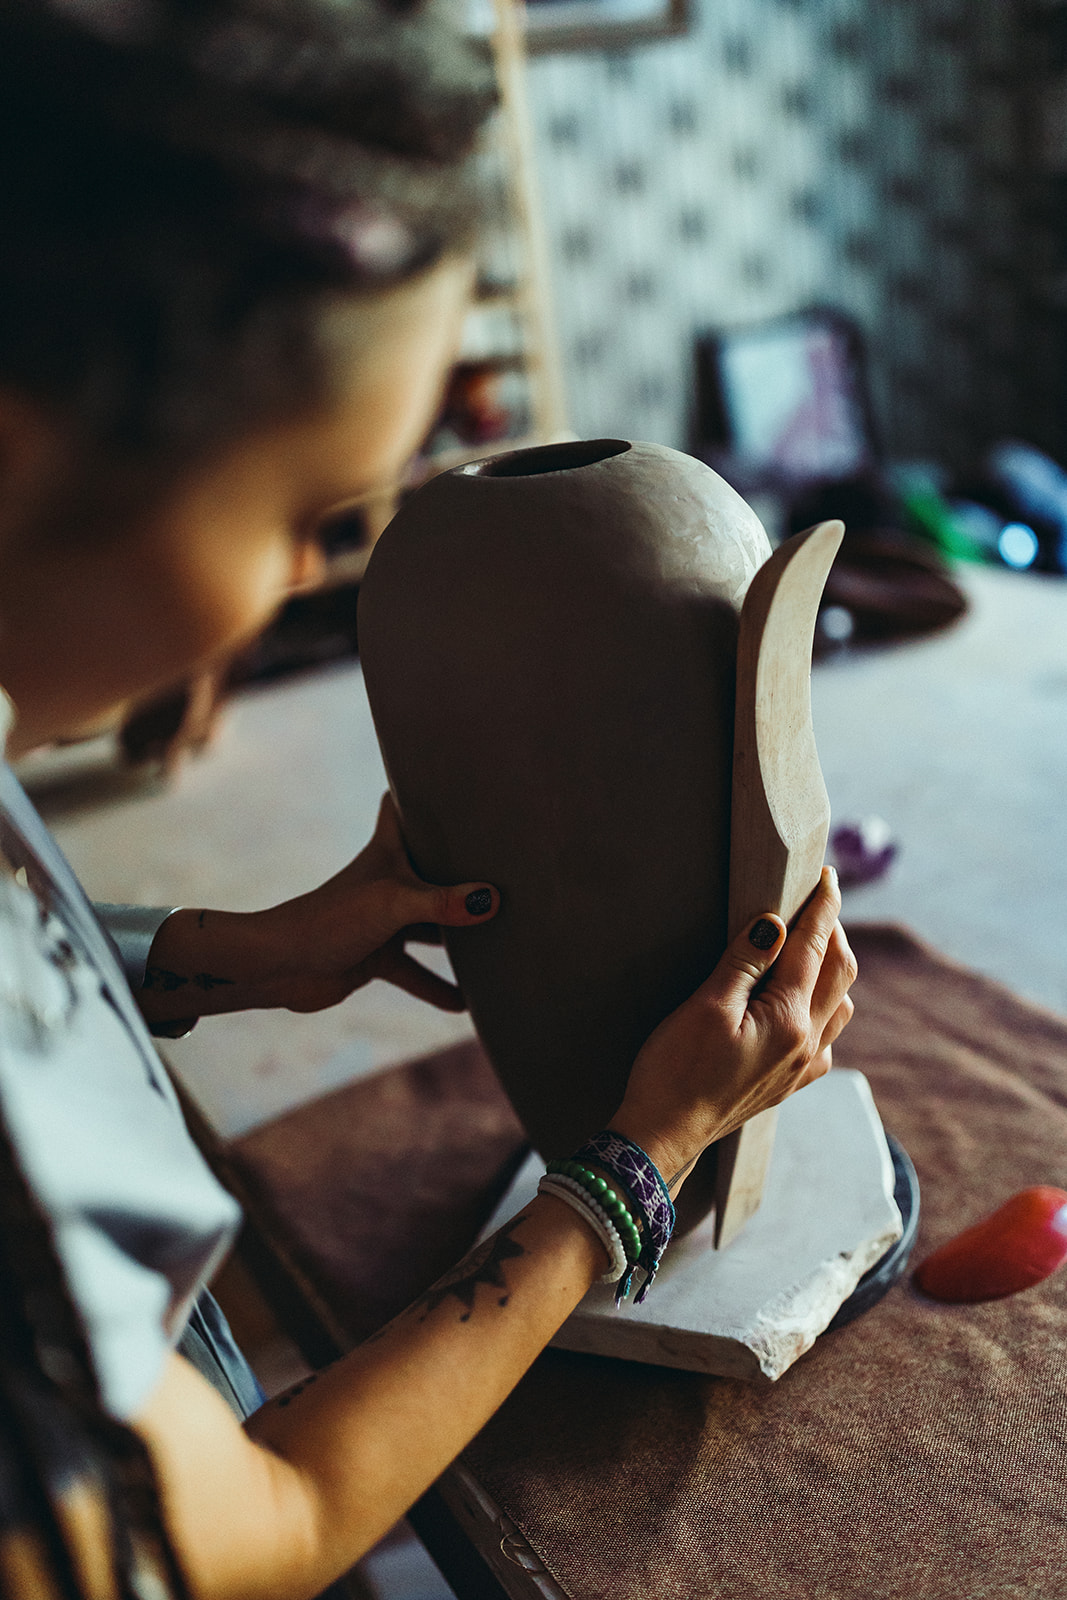
This platform is a modular, constantly growing system designed to give you a rock-solid foundation in hand-building. Ceramics is all about the tiny details — the exact pressure of your fingers or the angle of a cut. These are the crucial secrets I repeat a hundred times during my offline courses here in Prague to ensure my students get the best results. Now, they are here for you online.
Inside the course
Over four hours of step-by-step video across 23 lessons, filmed in my studio — with the clay, tools and glazes I actually use. Yours for a year, at your own pace.
Before you touch clay, we get your corner right. I show you the two clays I actually work with — smooth G&S 254 and dark G&S 371 — the short list of tools that earn their place, and what's really happening as a piece dries and goes through its first firing — so nothing later is a mystery.
Your space, clay and tools ready — and you understand every stage before you begin.
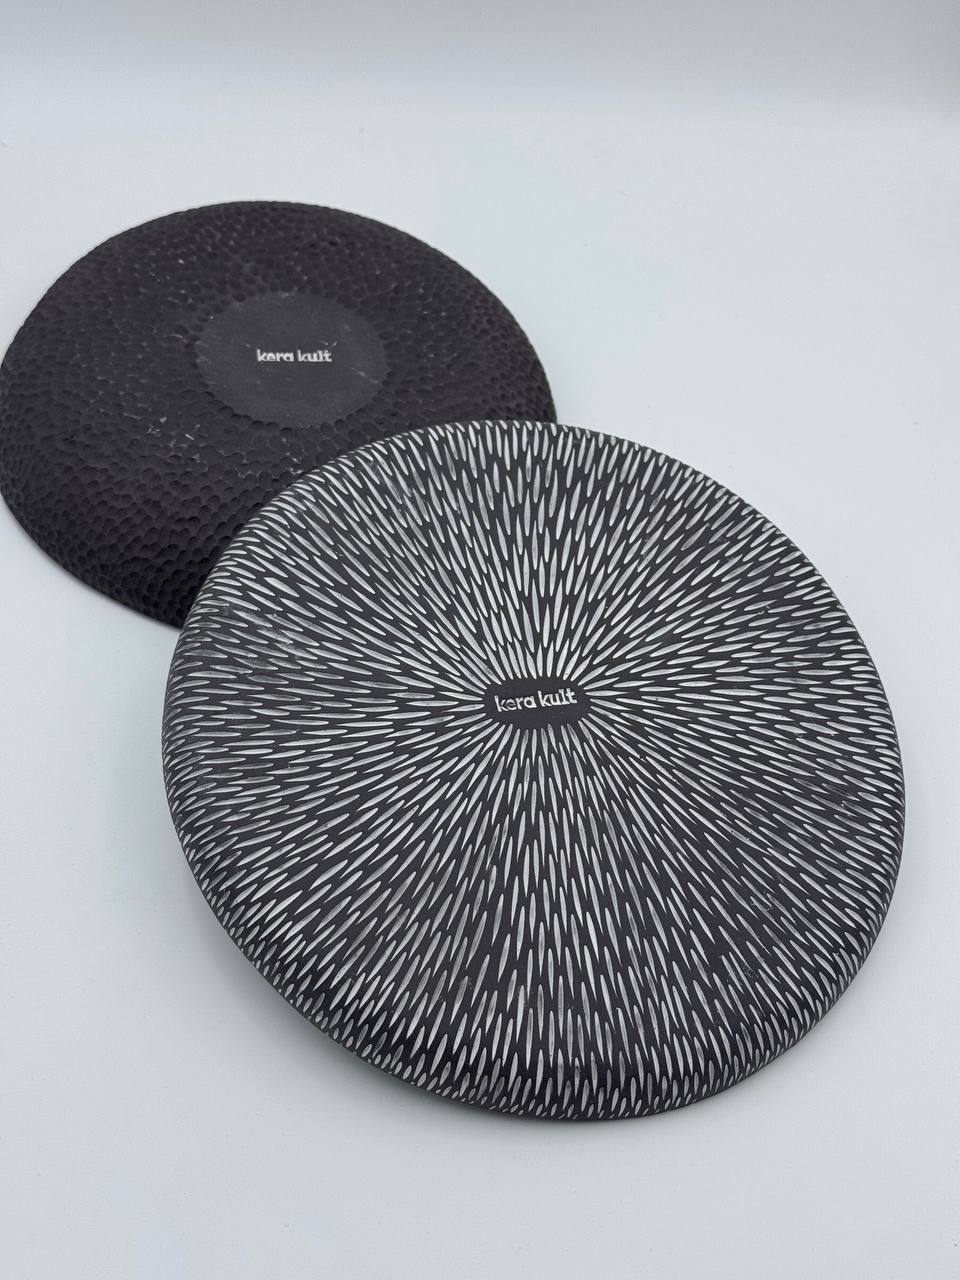
Flat is deceptively hard. You'll roll even slabs and shape them into plates with real character — raised, wavy edges, carved texture, and your own mark pressed into the base.
A set of plates in different shapes, ready to decorate.
Your first vessels, three ways — from a single ball of clay to a clean mug with a handle that survives the kiln. The pinch cup you learn here is the same move behind the vases and sculptures later on.
Three finished cups — including a mug that actually holds your tea.
The quiet step most people skip — and the one that separates a clean piece from a rough one. You refine the dry, raw piece before it ever meets the kiln, so the firing and the glaze reward you instead of surprising you.
Every piece prepped, so nothing is lost in the firing.
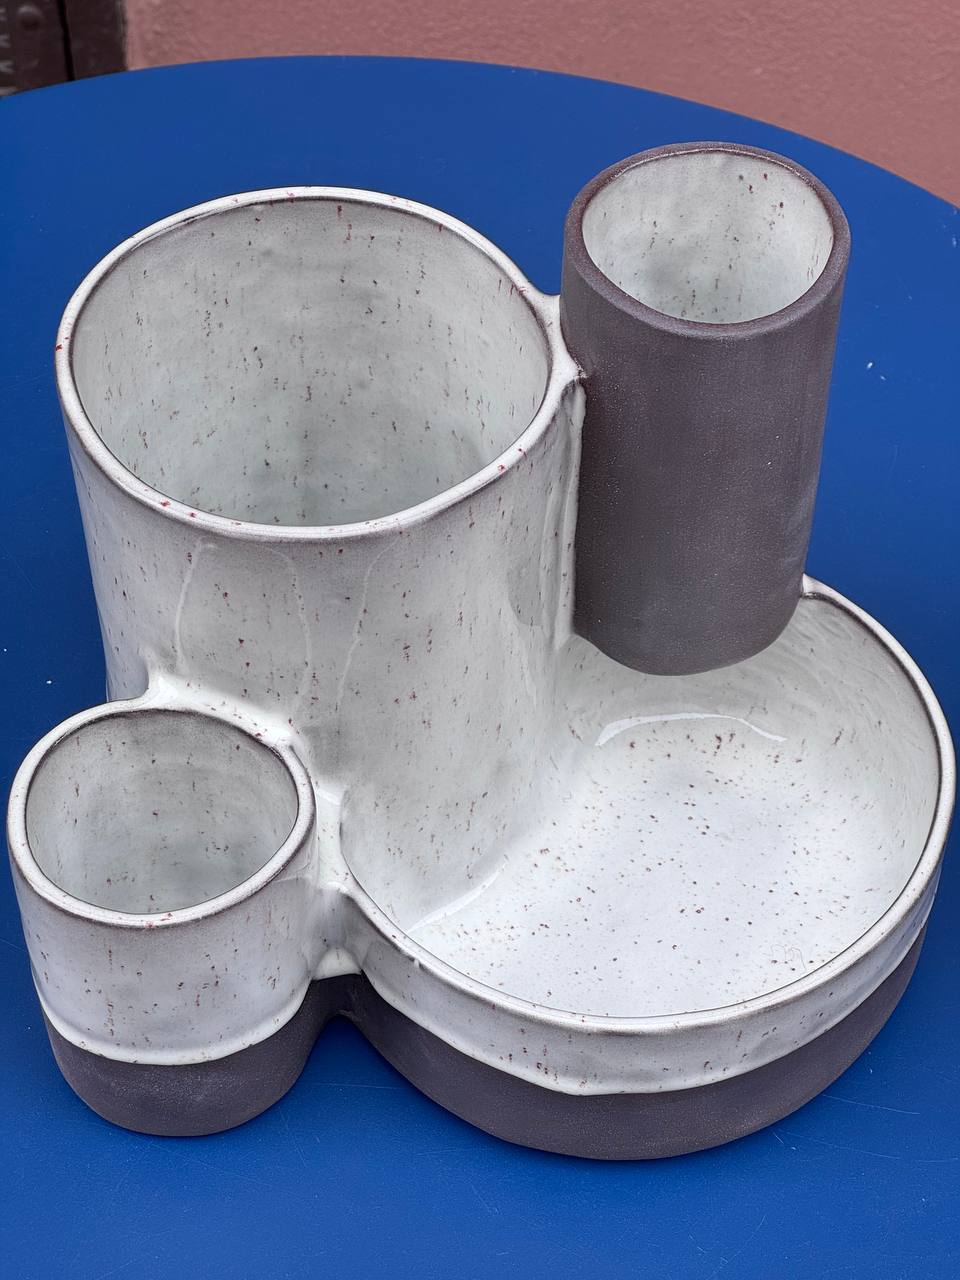
Where ceramic craft meets deliberate surface design. Master the precise physics of high-fire glazing (Cone 5–6) — from controlled vertical drips and the "Frozen Pond" effect to multi-layered bubble textures and clean, food-safe finishes without ruined kiln shelves.
6 signature high-fire surface finishes — from controlled vertical drips and the fluid "Frozen Pond" effect to delicate watercolor carving and bubble textures. Fully functional, food-safe ceramics built to last.
Everything you get
One payment, and the whole course is yours. Here's exactly what's inside.
What you'll make
By the end you can build a piece by hand, dry and fire it without cracks, and glaze it to a food-safe finish.
What you need
Clay, your hands, and a few simple tools.
No wheel and no studio of your own needed. You build at home, and for firing you use a local ceramic studio. The full starter list is inside.
Enrol now
Your teacher
Six years hand-building in Prague, and the voice behind the Reels millions have watched. I built the Method to take you from zero to confident — the same path I teach in my studio, now online.
Get the course